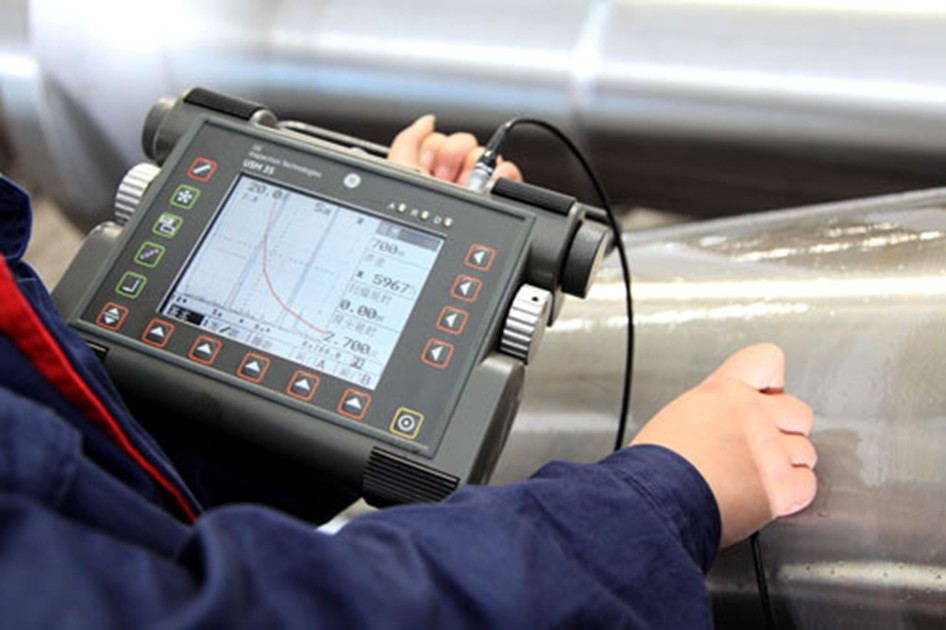
Hardness testing is a critical quality control process in manufacturing forged components, ensuring they meet required specifications for durability and performance. However, when hardness testing reveals non-conformance, it poses challenges that must be addressed systematically to prevent further issues in production or application. Below are the steps to effectively manage such situations:
1. Identify the Root Cause
The first step is to investigate why the hardness level is outside the acceptable range. Common causes include incorrect material selection, improper heat treatment, or deviations in the forging process. Conducting a thorough review of the production parameters, such as heating temperatures, cooling rates, and material compositions, can help pinpoint the source of the problem.
2. Isolate Affected Parts
To minimize risks, segregate the non-conforming components from the rest of the batch. This prevents defective parts from being inadvertently used in assembly or shipment. Proper documentation of the affected parts, including batch numbers and specific deviations, is essential for traceability.
3. Evaluate Rework Feasibility
Once the issue is identified, assess whether the parts can be reworked to meet the hardness specifications. Reworking may involve reheating, quenching, or tempering the forged parts. However, it is important to ensure that rework will not compromise the structural integrity or functionality of the components.
4. Consult with Stakeholders
If the parts cannot be reworked or if there are doubts about the rework process, consult with customers, engineers, or quality control teams to determine the next steps. This may involve modifying specifications, performing additional testing, or scrapping the non-conforming items. Transparent communication with stakeholders is crucial to maintaining trust and collaboration.
5. Enhance Process Controls
Preventing future non-conformances requires strengthening process controls. This could involve refining heat treatment parameters, upgrading equipment, or improving operator training. Regular calibration of testing equipment and adherence to standardized procedures can also enhance reliability.
6. Implement Corrective and Preventive Actions (CAPA)
Document the incident and implement corrective and preventive actions to avoid recurrence. This might include revising standard operating procedures, conducting audits, or incorporating additional quality checks during production. CAPA ensures that lessons learned from the incident are effectively applied.
7. Maintain Clear Records
Finally, maintain detailed records of the non-conformance, investigation, and resolution process. This documentation is valuable for future reference and demonstrates a commitment to quality assurance during customer or third-party audits.
In conclusion, addressing non-conformance in forged part hardness testing requires a systematic approach that prioritizes root cause analysis, communication, and process improvement. By effectively managing such situations, manufacturers can uphold product quality, customer satisfaction, and long-term reliability.
Post time: Dec-06-2024


